Hi Folks,
I'm sorry for not updating my blog site for such a long time. I was busying with my rock school exam :) Don't worry, I'm back! But while i was away, magical constantly happens in my small little workroom.
Remember the broken Gibson SG? Here's a picture that will put a smile to some of you :)
I'm sorry for not updating my blog site for such a long time. I was busying with my rock school exam :) Don't worry, I'm back! But while i was away, magical constantly happens in my small little workroom.
Remember the broken Gibson SG? Here's a picture that will put a smile to some of you :)
 Although it's not completed, i thought it'll be a good idea to tell you guys she is now in 1 piece and ready to rock in no time! I can't wait to complete and start playing it!
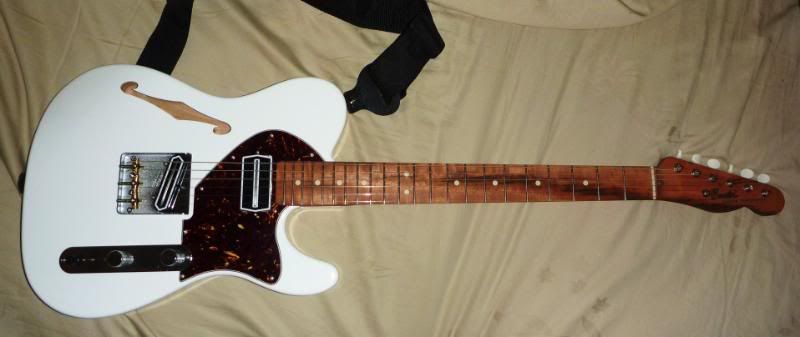
I'm also in the midst of doing some frankentele.. Well at least i've...
 Sliced a tele bridge into 2..
 ...and made some funky and funny decal to match it! The result?
I'll keep it a secret for the moment :)
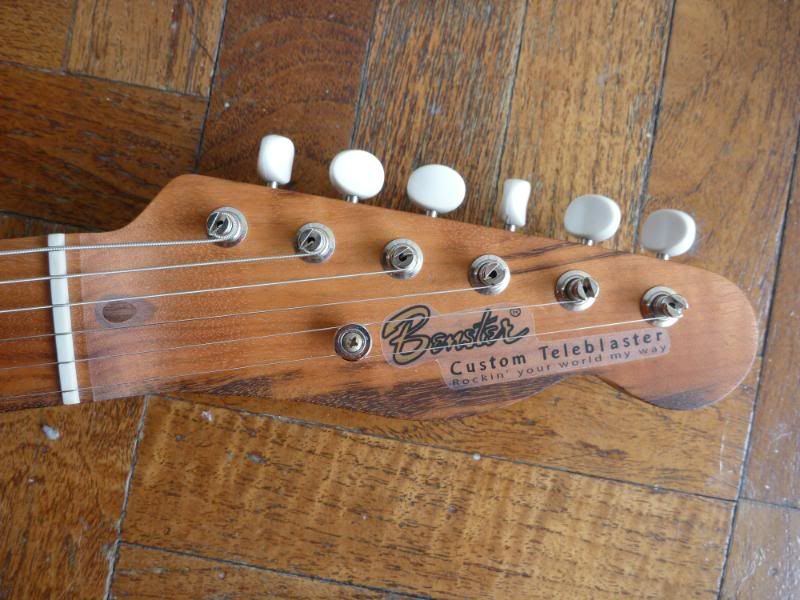
Speaking of decal.. Recently Benjamin of En-X contacted me to do him a customized decal for his new tele. I'm happy to have worked with him on this. The ideas are from him and i did the illustration and production of the decal.

A classic Yamaha also came into my bay~
What can you do when you've sanded your guitar neck and it ends up looking like this?

 Easy! Send to me of course :D
 As of this stage, it's almost complete. I'll need to do a little polishing.
Another classic, the Orville Les Paul! This is a pretty beat up old Orville. So the owner decides to repaint it into red wine color. Let's see if i can get it nailed ;)

 Sugizo's material finish eclipse?
I hope i can make myself work harder and update this site at a much more constant rate! Your encouragement definitely helps!
Best Regards,
Vincent
Best Regards,
Vincent


